Module 10
5 min read
Publishing & Sharing
Publish and share your Power BI reports
What You'll Learn
- Publish reports to the cloud
- Share with your team
- Set up automatic refresh
How to Publish
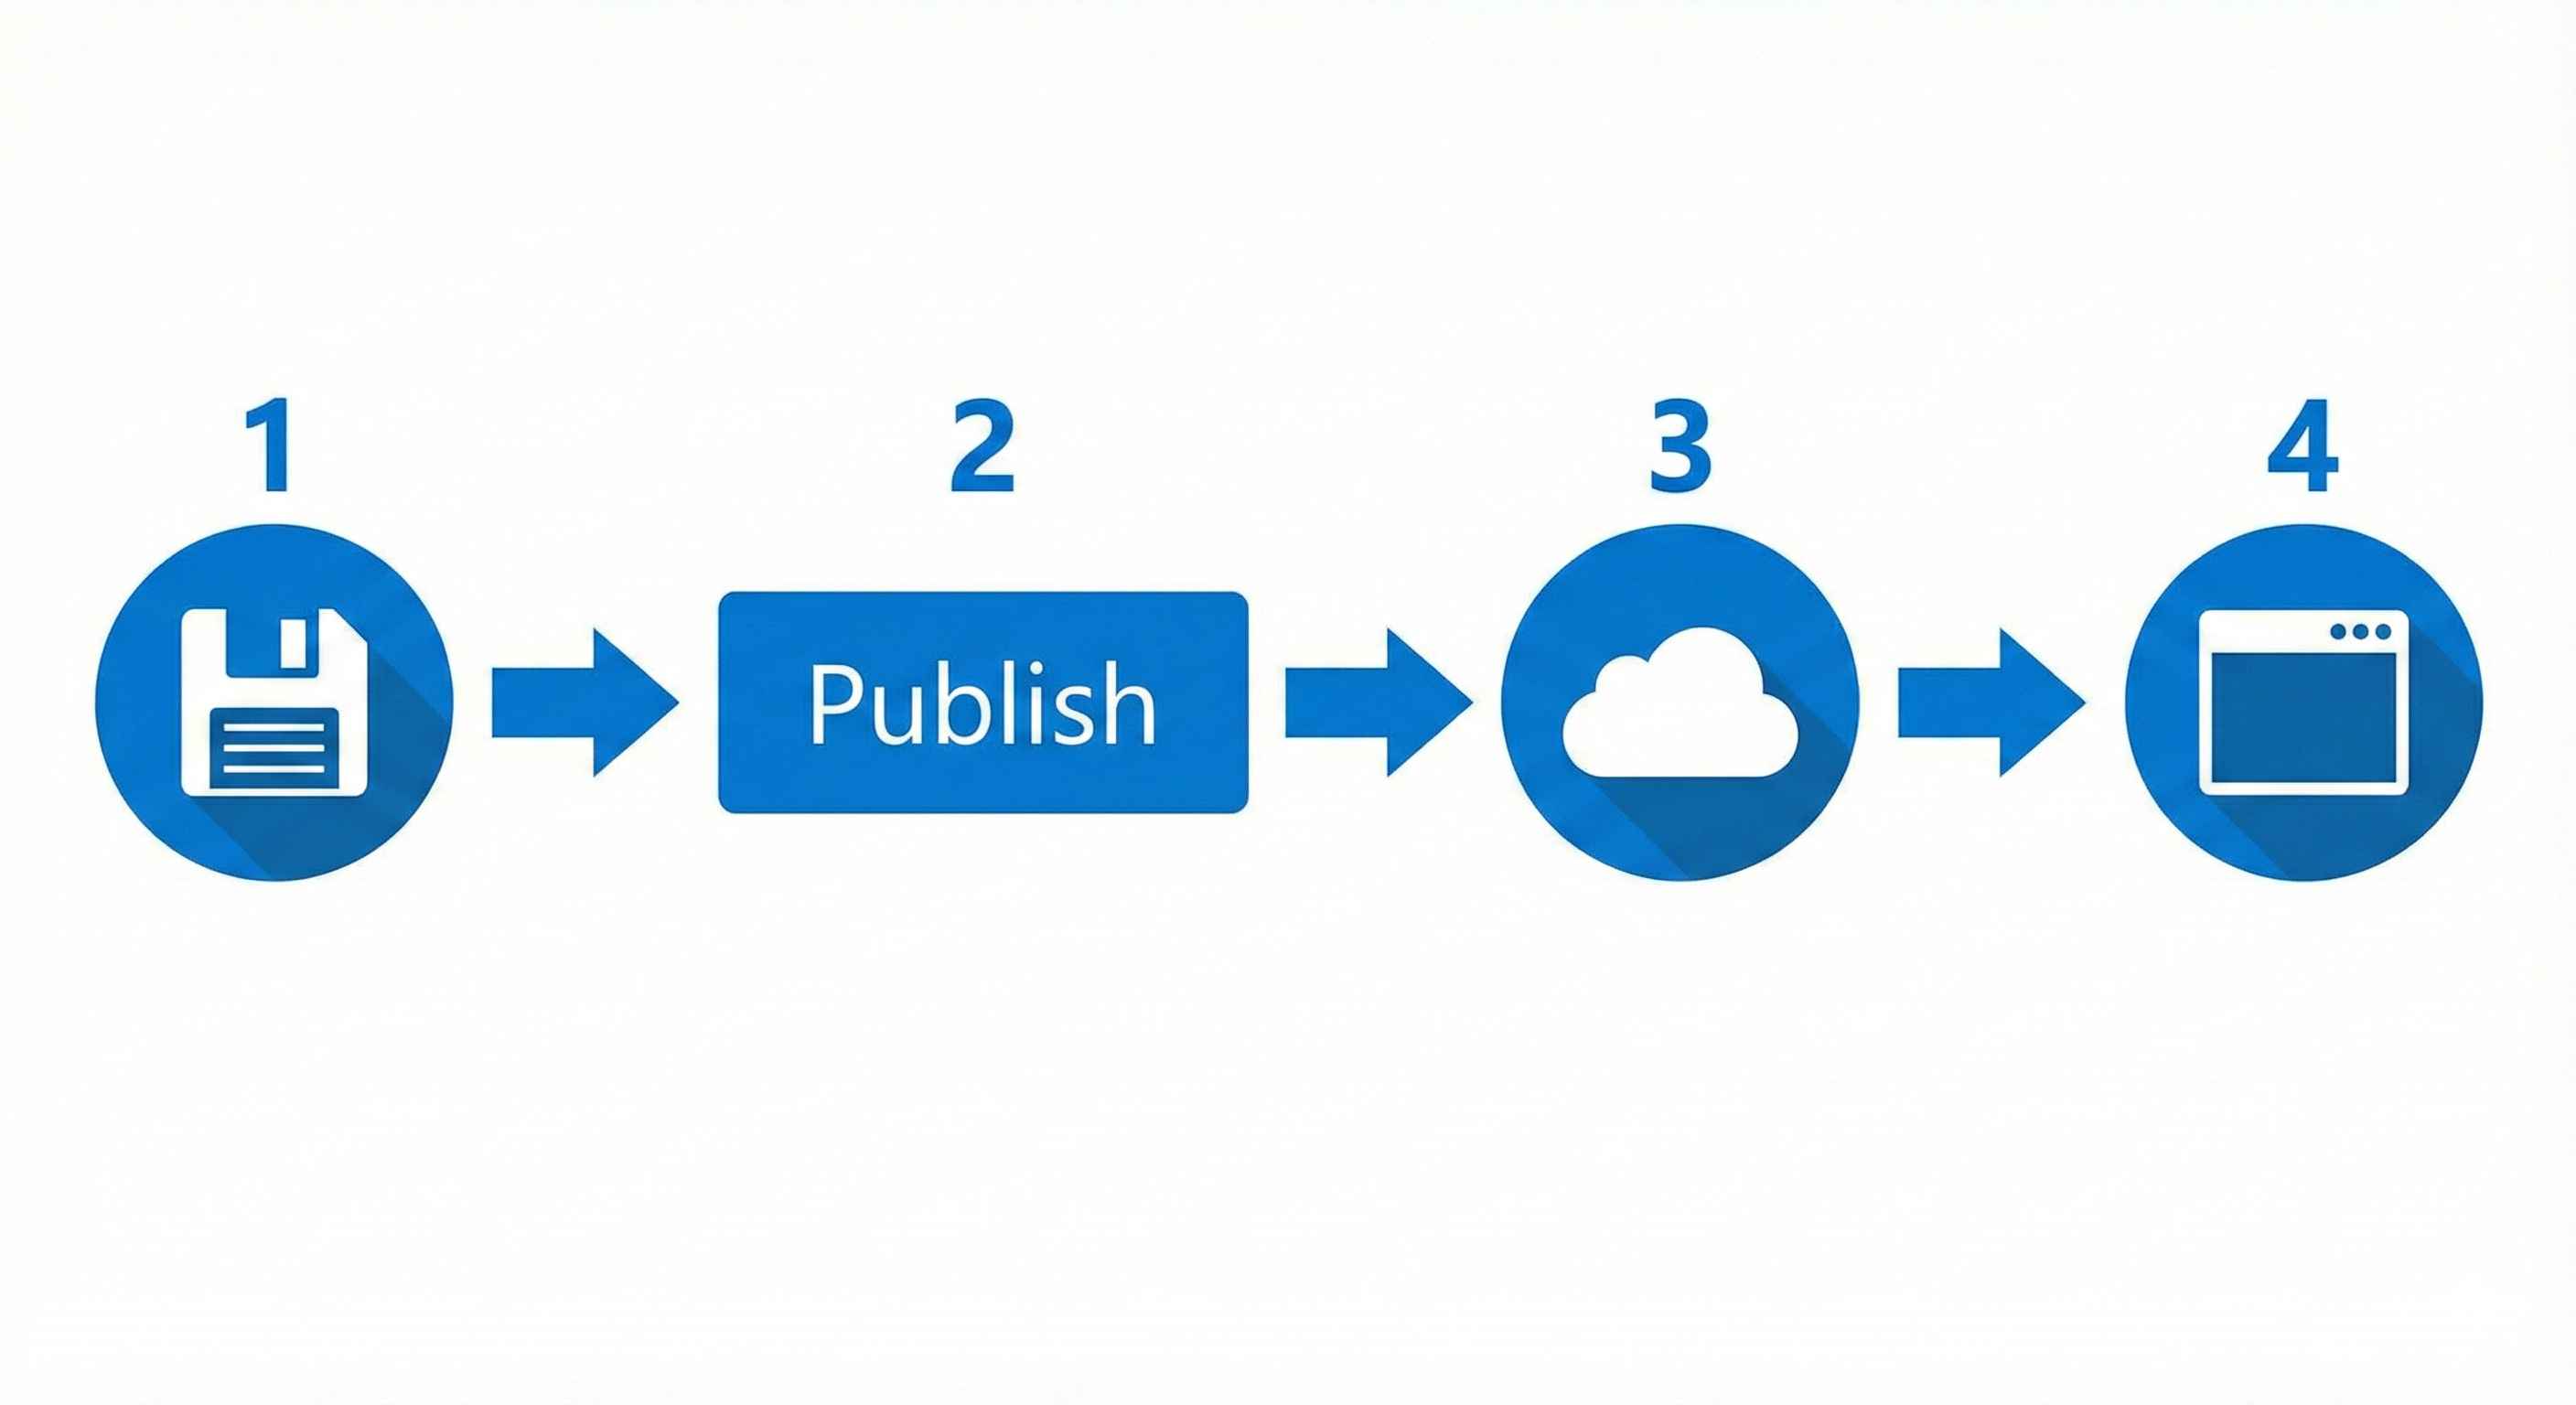
- Save your .pbix file
- Click Home → Publish
- Sign in (if needed)
- Select a workspace
- Click link to open in browser
Done! Your report is now in Power BI Service (cloud).
Sharing Options

| Method | Best For |
|---|---|
| Share Link | Quick sharing with colleagues |
| App | Professional distribution to many users |
| Embed | Put in SharePoint, Teams, or website |
Permission Levels
| Role | Can Do |
|---|---|
| Viewer | View, filter, export |
| Contributor | Edit, create, publish |
| Admin | Everything + manage users |
Schedule Data Refresh
Keep your data fresh automatically!
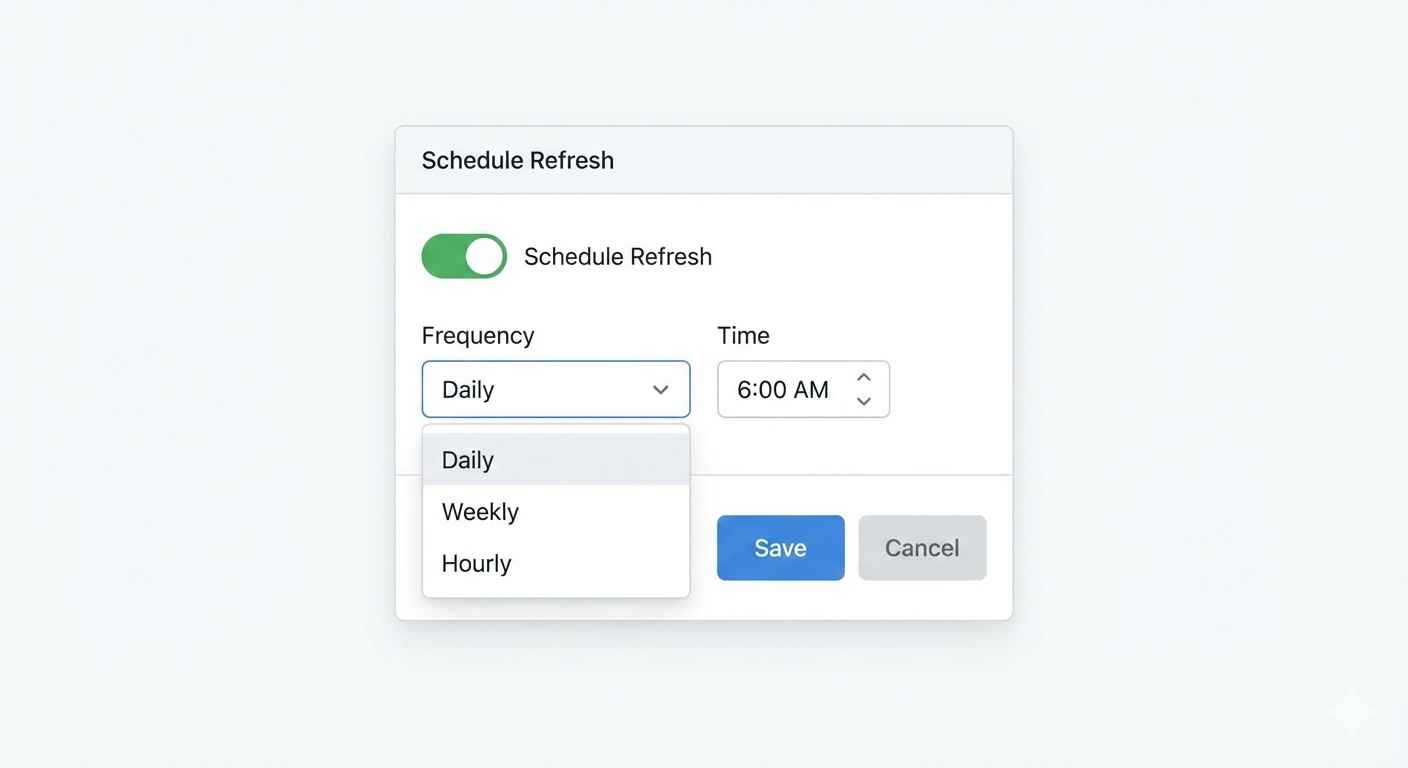
Steps:
- Power BI Service → Dataset → Settings
- Scheduled Refresh → On
- Set frequency (daily, hourly)
- Set time
Pro license: Up to 8 refreshes/day
Row-Level Security (RLS)
Different users see different data.
Example: Salespeople only see their region's data.
// In Desktop: Modeling → Manage Roles
// Create role "East" with filter:
[Region] = "East"
Then assign users to roles in Service.
Quick Tips
| Do ✓ | Don't ✗ |
|---|---|
| Test before publishing | Publish untested reports |
| Use descriptive names | "Report1", "Final_v2" |
| Set refresh schedule | Manual refresh only |
| Share Apps | Share raw workspaces |
Try This
- Create a simple report
- Click Publish
- Select My Workspace
- Open in browser
- Set up daily refresh
- Share link with yourself (test it!)
Tip: Publishing is easy. A good sharing strategy takes planning!